Your fiddle leaf fig is dying. You bought it three months ago, named it, and now the leaves are turning that crisp, depressing shade of "I've given up on life" brown. You probably thought a self waterer for plants would save you from your own forgetfulness. It didn't. Most of these gadgets—from the glass globes that look like 70s lawn ornaments to the high-tech capillary mats—actually kill more plants than they save when people don't understand the physics behind them.
Plants don't just "drink" water. They breathe. If you keep the soil at 100% saturation because your reservoir is constantly dumping liquid into the pot, you’re basically drowning the roots. It’s called root rot. It’s gross, it smells like swamp gas, and once it starts, your plant is pretty much toast.
The Reality of How a Self Waterer for Plants Actually Works
Most people think these tools are "smart." They aren't. They’re usually just gravity or capillary action in a plastic suit.
Take the classic terra cotta spike. You shove a wine bottle upside down into a clay stake buried in the dirt. The clay is porous. As the soil dries out, it pulls moisture through the clay. Physics! It’s called a water potential gradient. But here’s the kicker: if your soil is too compacted, the gradient doesn't work. The water stays in the bottle while your pothos shrivels up. Or, even worse, if the seal between the bottle and the spike isn't airtight, the whole thing glugs out in twenty minutes, turning your living room floor into a miniature pond.
Then there are the "wick" systems. These are basically just a piece of cotton or nylon rope connecting a bucket of water to your plant's soil. They’re cheap. They’re ugly. And honestly? They’re probably the most reliable version of a self waterer for plants if you’re leaving for a two-week vacation. But you have to get the height right. If the water reservoir is higher than the plant, gravity takes over and you get a flood. If it’s too low, the water can’t fight gravity to climb up the string.
It’s a balancing act that most "how-to" blogs ignore because they just want you to click their affiliate links.
The Problem With Tropicals and "Wet Feet"
Not every plant wants a self-watering setup. Succulents? Forget it. If you put a jade plant or an aloe in a self-watering pot, you’re signing its death warrant. These plants need "dry-down" periods. Their roots need to experience a total lack of moisture to stay healthy and avoid fungal infections.
On the flip side, things like ferns, peace lilies, and African violets love the consistency. African violets specifically hate getting their leaves wet—it causes spots—so a bottom-wicking self waterer for plants is actually the gold standard for them. Dr. Leonard Perry from the University of Vermont has written extensively about sub-irrigation, and the consensus is clear: it’s about matching the delivery method to the species, not just buying a cool-looking pot.
Setting Up Your System Without Killing Everything
If you’re dead set on using a self-watering system, you have to prep the soil. You can’t just use the heavy, peat-based "all-purpose" potting mix from the big box store. It’s too dense. It holds too much water.
Instead, you need what pros call "soilless mix."
- Use a high ratio of perlite or pumice. These are the white crunchy bits that look like Styrofoam. They create air pockets.
- Add coco coir. It wicks water better than peat moss and doesn't get "hydrophobic" (water-repellent) when it dries out.
- Avoid adding a layer of rocks at the bottom. This is an old myth. It actually raises the "perched water table," making the soil soggier and closer to the roots.
The "Vacation Method" vs. Permanent Use
There’s a massive difference between keeping a plant alive while you’re in Cabo for ten days and using a self waterer for plants as your primary care strategy.
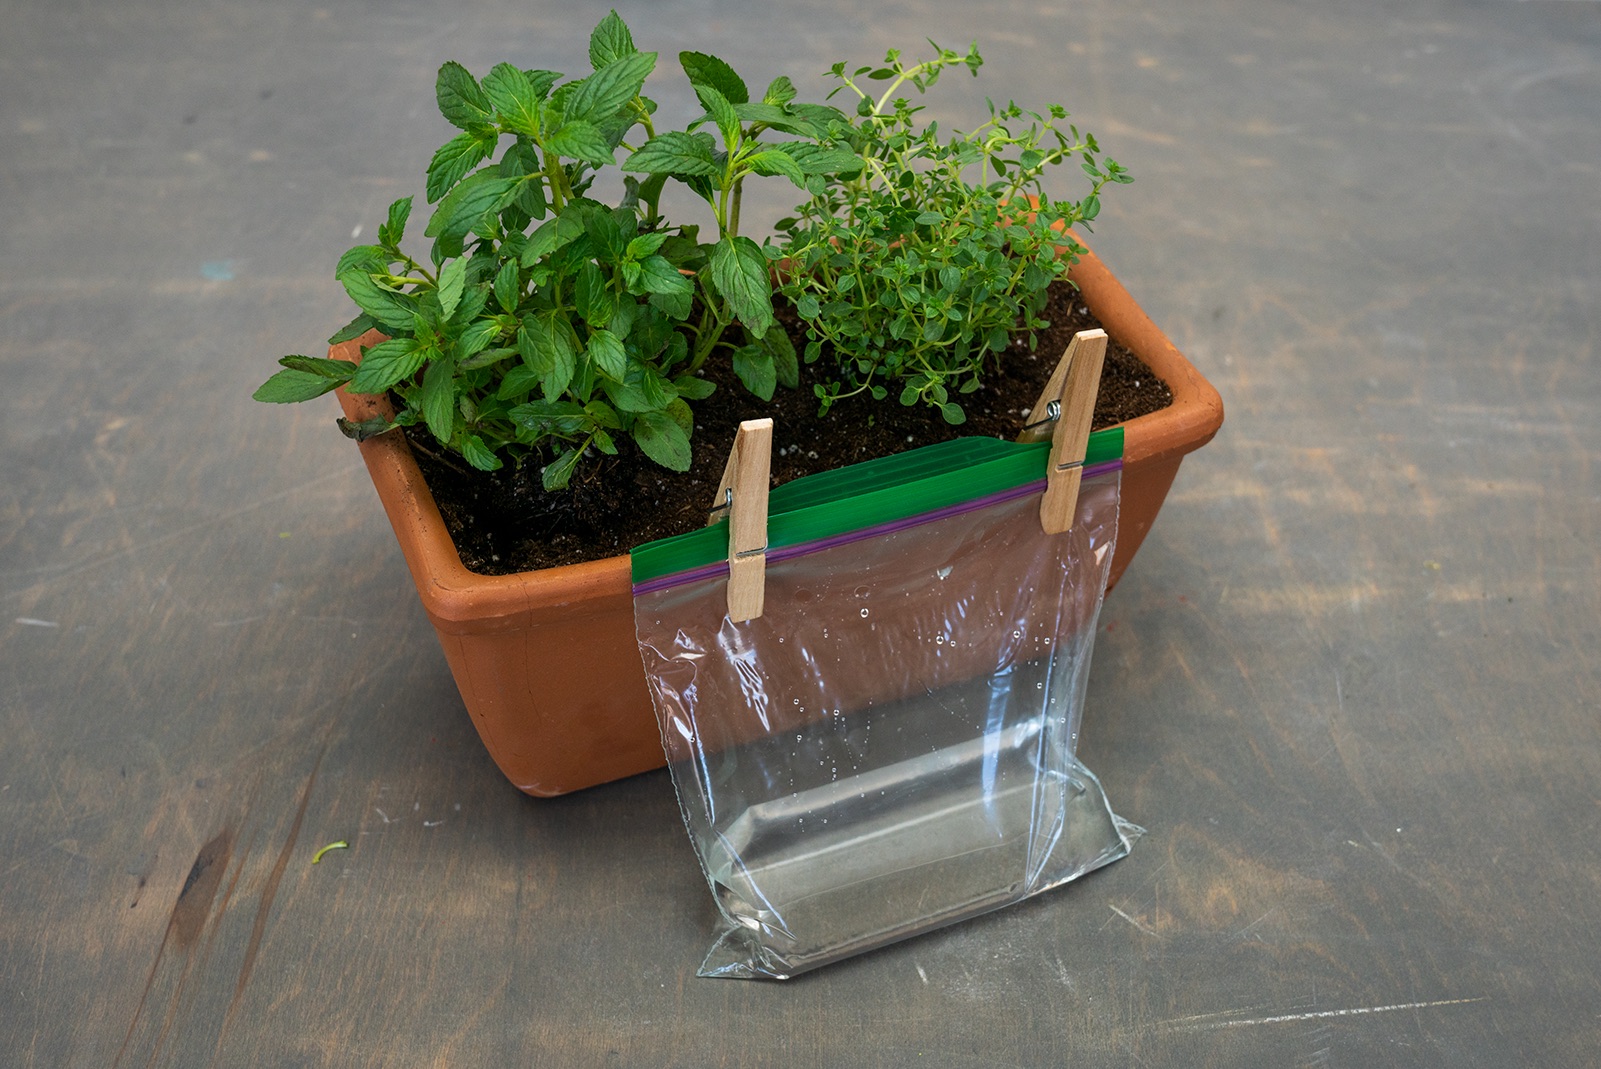
For short-term needs, the "bathmat method" is surprisingly effective. You soak a heavy towel, lay it in the sink, and set your plants on top (make sure they have drainage holes). The capillary action pulls just enough moisture from the towel into the soil. It’s low-tech, zero-cost, and significantly safer than those glass globes that often act as magnifying glasses and burn your plants if the sun hits them right.
Why Some "Smart" Pots Are Actually Stupid
We’re seeing a surge in app-connected planters. They have sensors. They have LEDs. They cost $150.
Here’s the thing: moisture sensors are notoriously finicky. Most cheap ones measure conductivity, not actual water content. If you have high salt levels in your soil from tap water or fertilizer, the sensor thinks the soil is wet when it’s bone dry. You’ll be sitting at work, looking at your app thinking your Monstera is fine, while it’s actually wilting into a sad green puddle.
If you want technology, look at "SIPs" (Sub-Irrigated Planters) used by urban farmers. These aren't flashy. They’re basically big boxes with a false bottom. You pour water down a pipe into a reservoir at the base. The soil sits just above the water, touching it in only a few "wicking" spots. This creates a zone of moist soil but keeps the bulk of the root mass in a well-aerated area. It’s how people grow massive tomato crops on New York City rooftops.
Real Talk: The Maintenance Nobody Mentions
Self-watering systems get gross.
Stagnant water attracts fungus gnats. Those little black flies that hover around your face while you’re trying to watch TV? They love your self waterer for plants. Their larvae live in the moist top layer of soil. If you use a reservoir system, you have to clean it. Monthly. If you don't, you'll get a buildup of algae and biofilm that clogs the wicks and makes the water smell like a sewer.
Also, salts. When you water from the bottom, the water evaporates out of the top of the soil, leaving behind all the minerals and fertilizer salts. Over time, you’ll see a white, crusty buildup on the surface. This can eventually "burn" the plant. You still need to "flush" the soil by watering from the top until it runs out the bottom at least once every few months.
Actionable Steps for Success
Stop guessing. If you want to use a self waterer for plants effectively, follow these specific steps:
- Test your wick first: If using a string system, soak the string in water before installing it. A dry wick often won't start the capillary action on its own.
- Match the reservoir to the pot size: A tiny 100ml globe on a 10-inch pot does nothing. It’s like giving a marathon runner a single thimble of Gatorade.
- Group your plants: If you're using a DIY wick system for vacation, group your plants together. This increases local humidity, which slows down the rate at which the soil dries out in the first place.
- Check the "First Fill": Never put a plant into a self-watering pot with dry soil. Always water the plant thoroughly from the top first to "prime" the system. The self-watering mechanism is for maintaining moisture, not for rehydrating a desert.
- Listen to the plant, not the gadget: If the leaves are drooping but the soil feels heavy, stop the waterer. The plant is likely suffering from overwatering, not thirst.
Ultimately, these tools are supplements, not replacements. They’re assistants. You’re still the boss. Use them for your thirsty ferns and your summer porch boxes, but keep your succulents and your high-stakes "investment plants" on a manual schedule where you can actually feel the soil with your fingers. That's the only way to be 100% sure they're happy.